
To build custom widgets like charts, flashcards, or quotes powered by your Notion databases, you’ll first need to connect your Notion workspace to Blocky.
Follow the steps below to get started:
1. Open the Notion Connection Panel
After logging into your Blocky dashboard, click the Connect Notion button in the bottom-left corner of the sidebar.

Alternatively, you can:
- Click your profile icon in the top-right corner
- Select Settings
- Go to the Notion tab
- Click Connect Notion

2. Select Which Pages to Share
When prompted, choose which pages or databases you want to share with Blocky.
- You can share your entire workspace or select individual pages.
- If you choose specific pages, new pages won't be accessible automatically — you'll need to reconnect and share them manually later.

3. Authorize Access
Click Allow access to confirm the integration. You’ll be redirected back to Blocky, where you can start building widgets using your Notion data — like flashcards linked to databases or charts that update automatically.
Other Articles
Filed under Help
RELATED · 03
Related entries
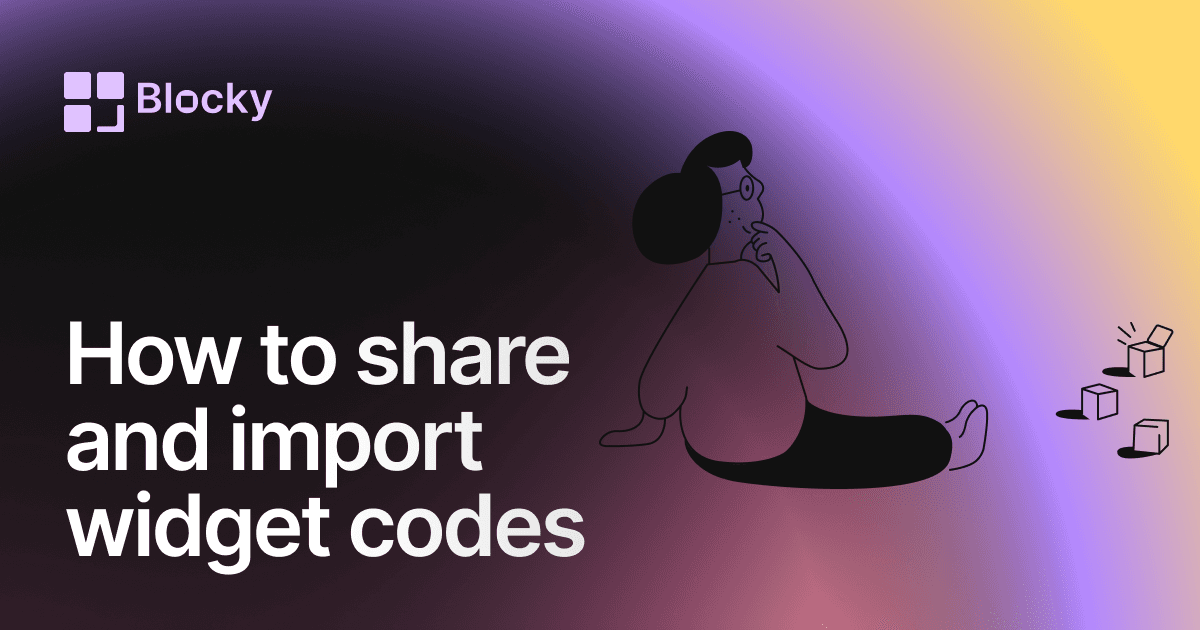
How to Create and Use Notion Widget Codes in Blocky
Learn how to generate, share, and import Notion widget codes in Blocky to duplicate styles, themes, and designs without sharing your data.
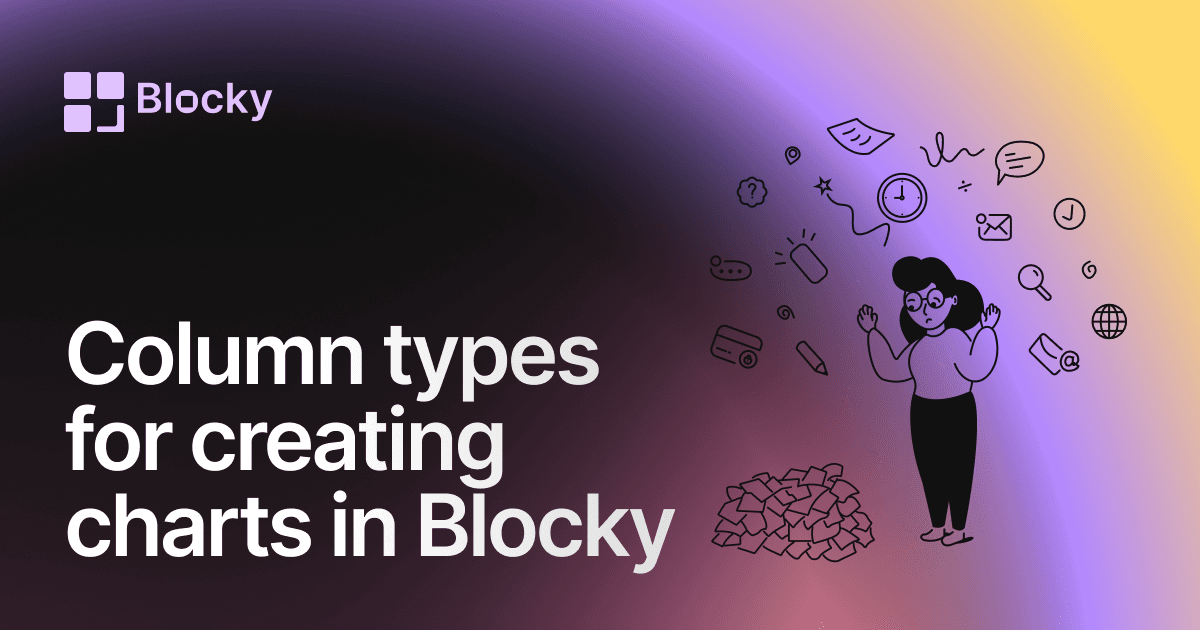
Supported Notion Column Types for Blocky Charts
See which Notion property types work with Blocky chart widgets, including label, value, date, select, and rollup fields.
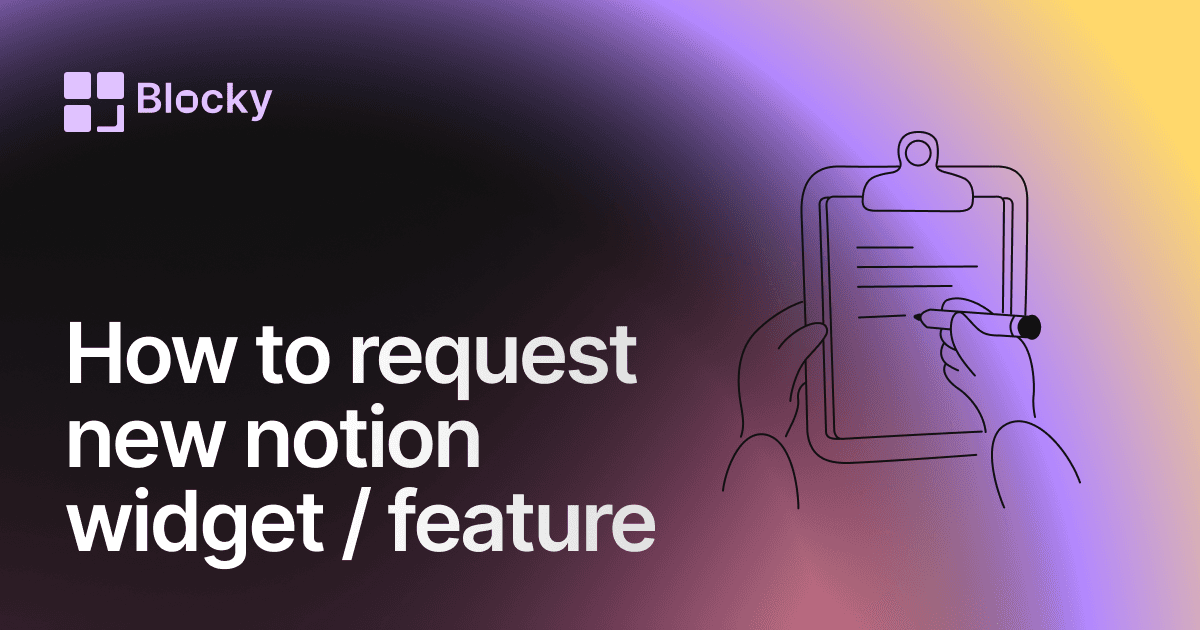
Request a Notion Widget or Feature in Blocky
Suggest widget ideas, request features, or report bugs for Blocky using the public feedback board and built-in support links.
Compose · Preview · Embed
Customize a widget, then embed it anywhere in Notion
Shape one of Blocky’s 60+ widgets to your data and layout, preview the result live, then drop the embed link into any Notion page. Sign in to start customizing.
Start customizing